Most baking failures are not because you’re bad at baking.
They’re because you measured something wrong.
Not the recipe.
Not the oven.
Not bad luck.
Measurement.
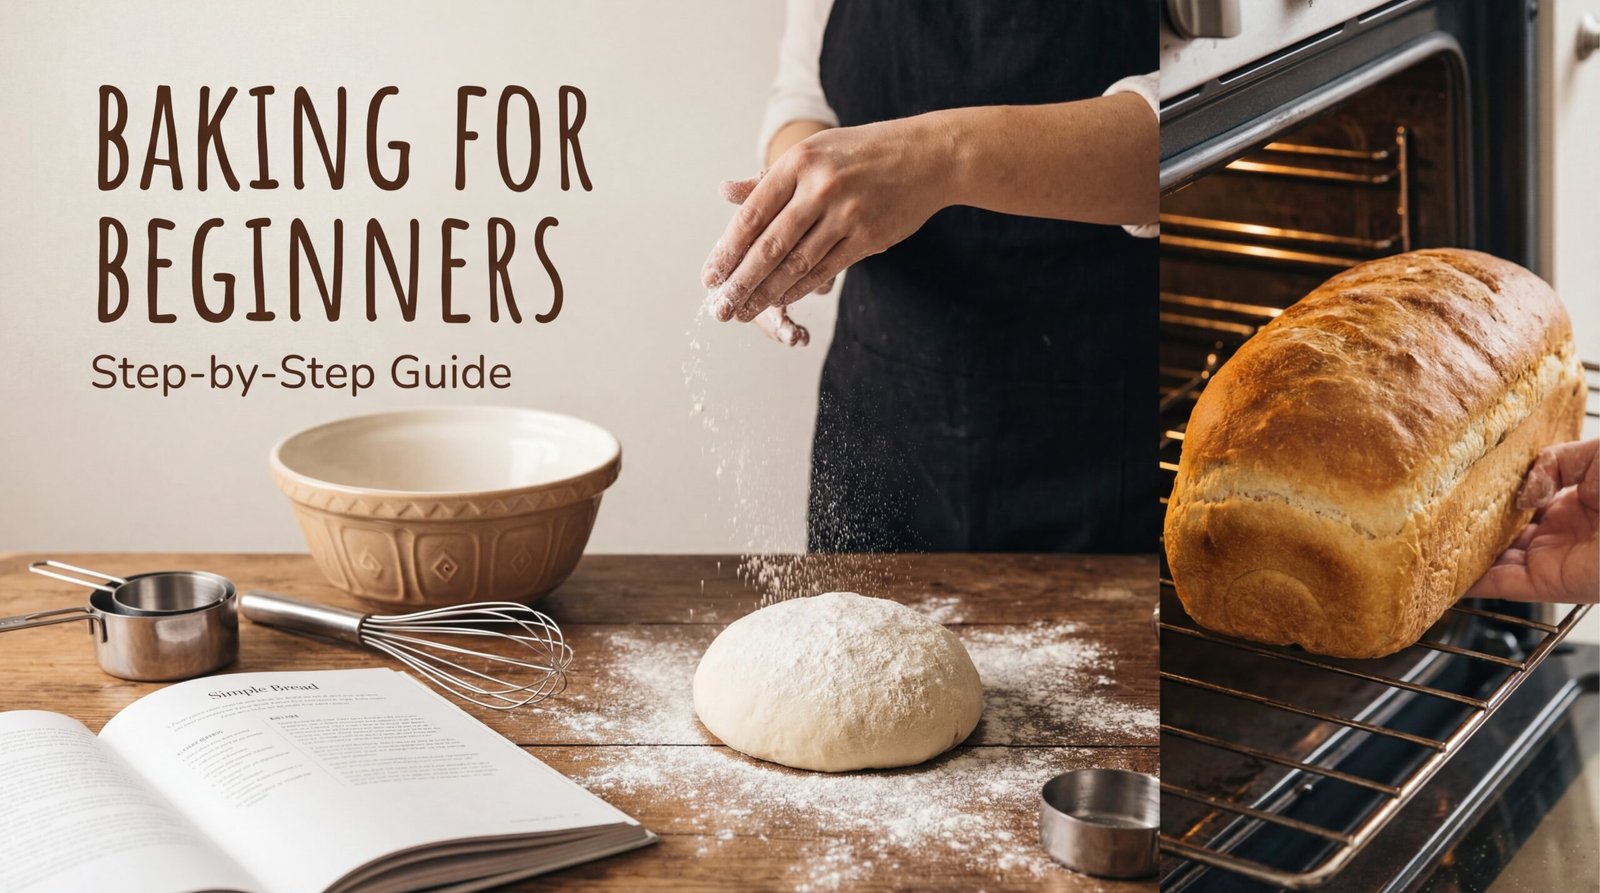
This is the least glamorous part of baking and also the most powerful. You can have the best recipe in the world, premium ingredients, and a Pinterest-perfect kitchen — and still end up with dry cake, flat cookies, or bread that could double as a paperweight.
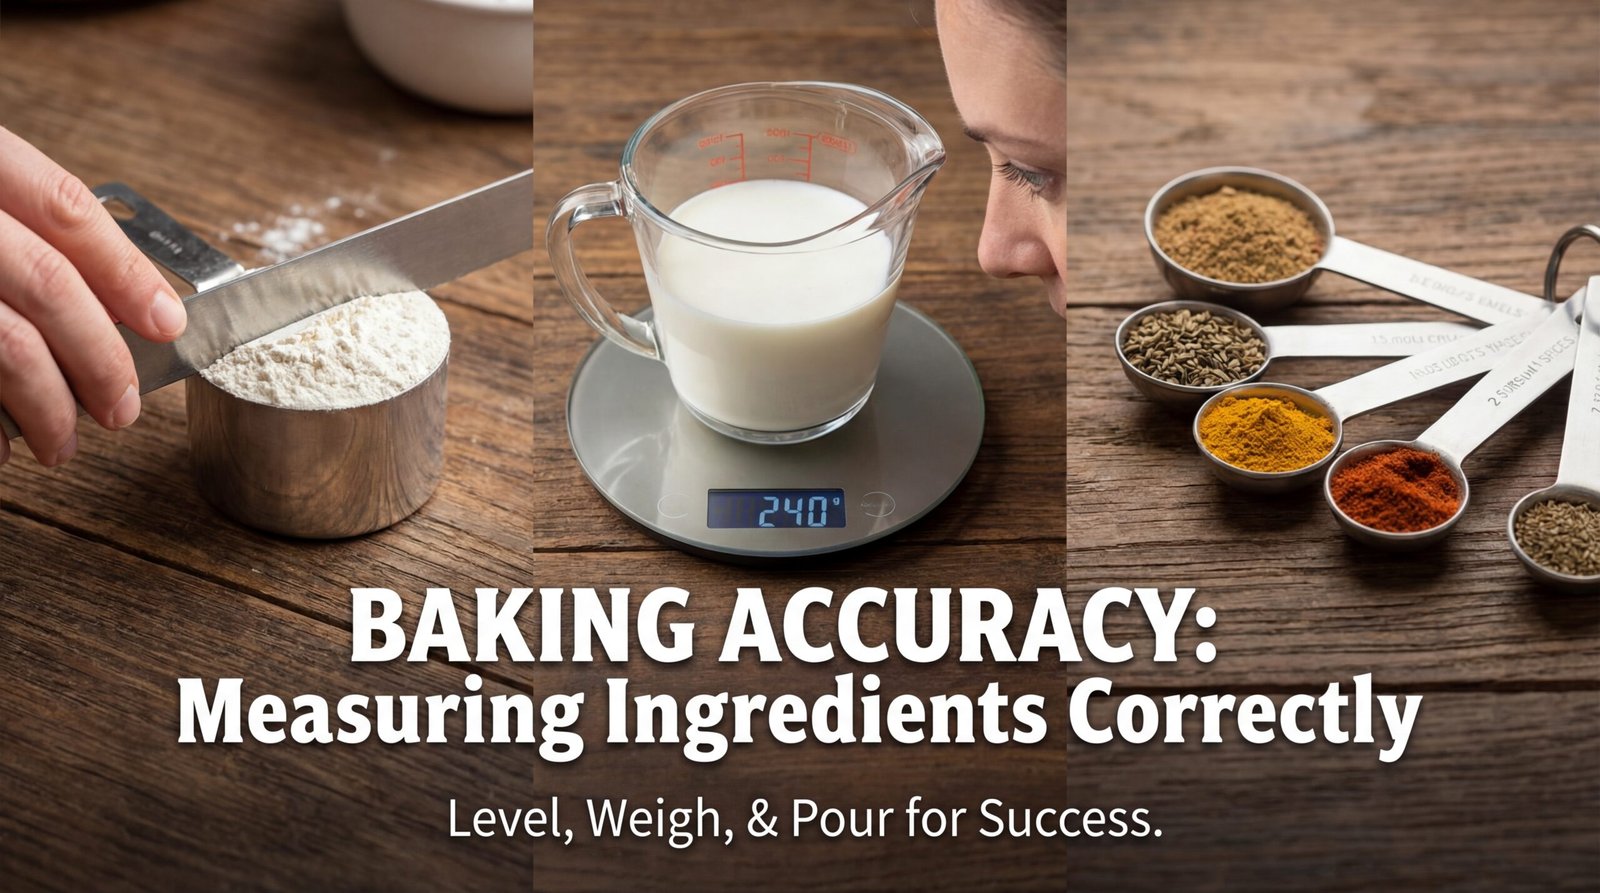
So this guide is about how to measure ingredients correctly for baking, but not in a stiff “textbook” way. This is the way a real baker explains it to someone they actually want to help.
Slow. Honest. Occasionally blunt.
Why measuring matters more in baking than cooking
Let’s clear something up.
Cooking lets you improvise.
Baking keeps score.
In cooking, you can:
- Add more salt
- Splash in extra oil
- Taste and adjust
In baking?
Once it’s in the oven, the decisions are final.
That’s because baking relies on ratios. Structure, moisture, fat, sugar, air — they all depend on balance. When one ingredient is off, everything reacts.
Too much flour? Dry and dense.
Too little sugar? Pale and bland.
Extra liquid? Soggy center.
Wrong leavening amount? Flat or bitter.
Measurement isn’t picky behavior.
It’s the foundation.
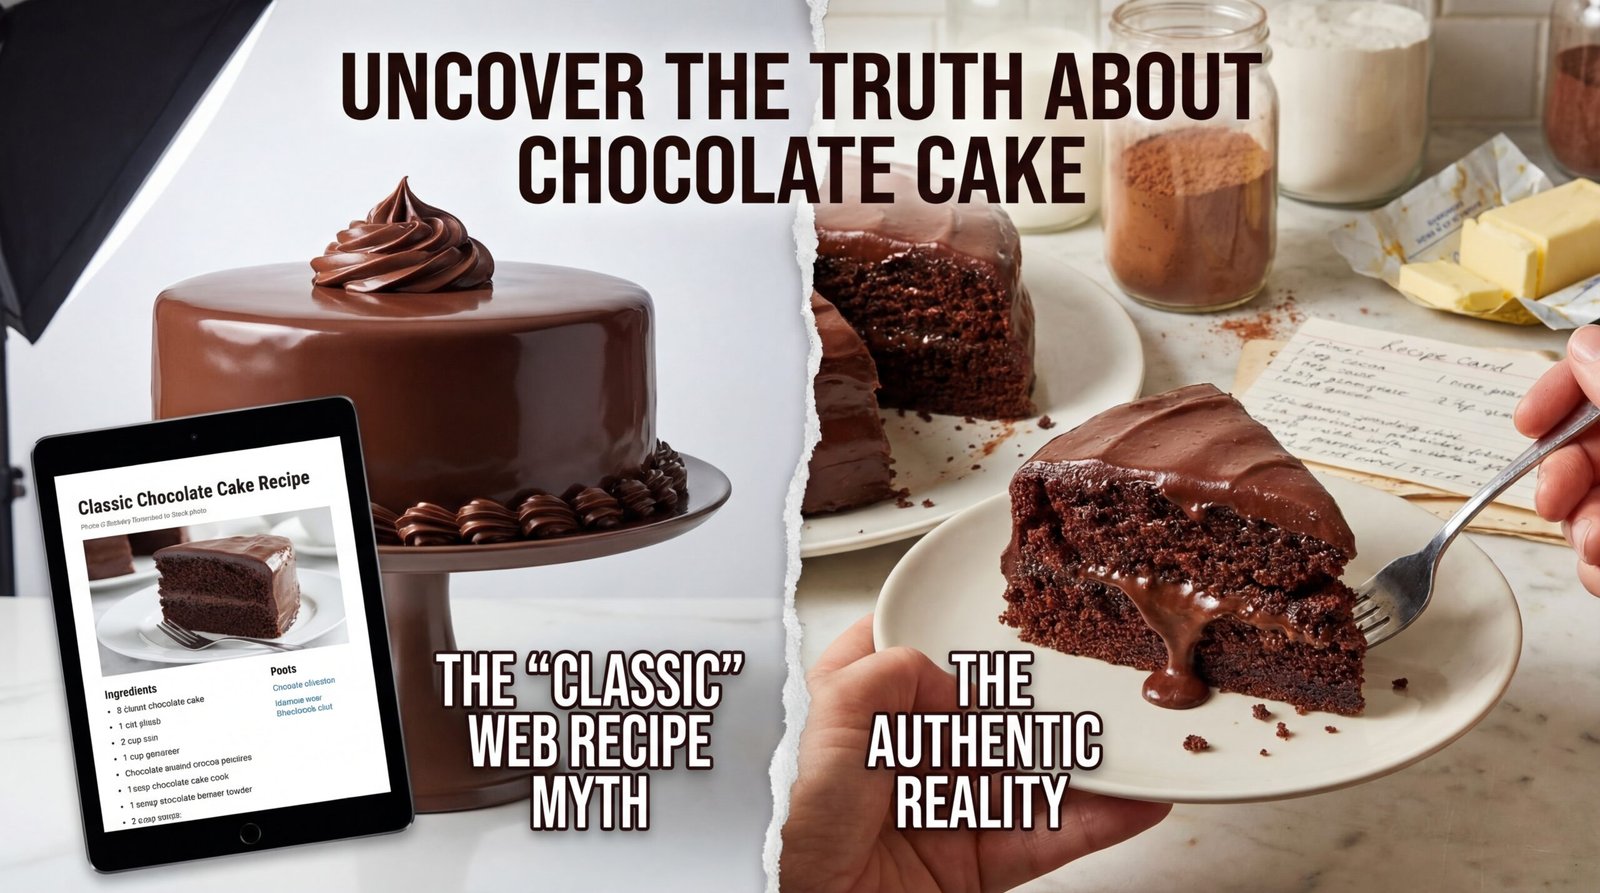
The biggest myth beginners believe about measuring
Here it is:
“Close enough is fine.”
It’s not.
“Close enough” is how you get:
- Cookies that spread into one giant pancake
- Cakes that sink in the middle
- Muffins that taste like flour
- Bread that refuses to rise
Baking rewards precision, especially when you’re starting out.
The two measurement systems you must understand
Before touching ingredients, you need to know this.
Baking measurements usually come in:
- Volume (cups, tablespoons, teaspoons)
- Weight (grams, ounces)
Both work — but they are not equal.
Volume measurements: convenient but risky
Cups and spoons are common, especially in beginner recipes.
Pros:
- Easy
- No scale needed
- Familiar
Cons:
- Inconsistent
- Depends on how you scoop
- Varies by ingredient
One cup of flour can mean very different things depending on how it’s measured.
Weight measurements: boring but superior
Using a kitchen scale feels serious — and that’s because it is.
Pros:
- Extremely accurate
- Consistent every time
- Preferred by professional bakers
Cons:
- Requires a scale
- Feels intimidating at first
If a recipe gives weights, use them. It removes guesswork completely.
Measuring dry ingredients the right way (this is where most people mess up)
Let’s talk about the biggest offender.
Flour: the silent destroyer of baked goods
Flour is light. Flour is fluffy. Flour loves to lie.
The most common beginner mistake is scooping flour directly from the bag with a measuring cup.
That packs it down.
Packed flour = too much flour.
Too much flour = dry, dense sadness.
The correct way to measure flour by volume
Do this every time:
- Stir the flour in its container (loosens it)
- Spoon flour into the measuring cup
- Fill until slightly overflowing
- Level it off with a flat edge (knife works)
Do not shake the cup.
Do not tap it.
Do not press it down.
Yes, it feels fussy. Yes, it matters.
Measuring sugar (less dramatic, but still important)
Granulated sugar:
- Scoop and level
- It’s heavier and settles naturally
- Less room for error
Brown sugar:
- Usually packed, unless recipe says otherwise
- Press it firmly into the cup
- It should hold its shape when turned out
Using unpacked brown sugar when packed is required = dry results.
Cocoa powder, powdered sugar, and other light ingredients
These behave like flour.
Always:
- Spoon
- Level
- Avoid compressing
Powdered sugar in particular loves to compact and trick you.
Measuring liquid ingredients without guessing
Liquids are easier — if you use the right tool.
Use liquid measuring cups for liquids
These have:
- A spout
- Space above the measurement line
Pour the liquid in, then:
- Place the cup on a flat surface
- Bend down to eye level
- Check the measurement line
Holding it in the air and guessing is how you end up with extra liquid.
Extra liquid changes texture fast.
Measuring oils, syrups, and sticky liquids
Sticky ingredients are annoying, but manageable.
Pro tip:
- Lightly oil the measuring cup or spoon first
- Then measure honey, syrup, or molasses
- It slides right out
Less waste. More accuracy.
Measuring small amounts: teaspoons and tablespoons matter
This is where beginners get careless — and regret it.
Baking powder, baking soda, salt, yeast, spices…
These are powerful in small amounts.
Half a teaspoon too much baking soda can:
- Ruin flavor
- Turn cakes bitter
- Create weird texture
Always:
- Use proper measuring spoons
- Level them carefully
- Don’t eyeball
This isn’t dramatic. It’s just chemistry.
The difference between baking powder and baking soda (measurement edition)
Quick but crucial detour.
- Baking soda is strong
- Baking powder is milder
They are not interchangeable, and neither are their measurements.
Using the wrong one — or the wrong amount — will absolutely wreck your bake.
Measure leavening agents carefully. No shortcuts here.
Butter: solid, softened, melted — measurement changes everything
Butter causes more confusion than it deserves.
Measuring solid butter
If butter comes in sticks with markings:
- Use the markings
- They’re accurate
If measuring by weight:
- Use a scale
- Don’t guess chunks
Measuring softened butter
Softened does not mean melted.
Softened butter:
- Presses easily
- Holds shape
- Still cool to touch
Measure softened butter by:
- Packing it gently into a measuring cup
- Leveling it
Measuring melted butter
Melt first.
Then measure as a liquid.
Do not measure solid butter and then melt it unless the recipe says so.
Volume changes when butter melts. This matters.
Eggs: measuring without measuring
Eggs seem simple — until they aren’t.
Most recipes assume:
- Large eggs
- At room temperature
If you use:
- Very small eggs
- Extra-large eggs
- Cold eggs
You can change moisture and structure.
When recipes specify egg weight, that’s next-level accuracy — and worth following.
Why ingredient temperature affects measurement (yes, really)
Cold ingredients behave differently.
Cold butter:
- Doesn’t cream properly
- Traps less air
Cold liquids:
- Don’t blend smoothly
- Affect texture
Room-temperature ingredients mix better and measure more predictably.
This is why recipes mention temperature — not to annoy you.
Measuring by weight: how beginners should start
If you want to level up fast, this is it.
You need:
- A basic digital kitchen scale
- The ability to press “tare”
That’s it.
Place bowl on scale.
Press tare.
Add ingredient.
Read number.
No fluff. No debate. No packing issues.
Once you start baking with weight, it’s very hard to go back.
Why “cups” are different around the world
This one surprises people.
A cup in:
- The US
- The UK
- Australia
- Europe
…can mean different volumes.
This is why weight-based recipes are universal and safer.
If you bake international recipes often, a scale isn’t optional — it’s sanity-saving.
Common measuring mistakes beginners don’t realize they’re making
Let’s call them out.
Using the same cup for dry and liquid ingredients
Liquid cups and dry cups are shaped differently for a reason.
Use the right tool.
Measuring over the mixing bowl
If you spill extra, you can’t undo it.
Measure over the counter.
Then add to the bowl.
Guessing halfway through
“I’ve done this before” confidence ruins more cakes than inexperience.
Measure every time.
Skipping salt or “just eyeballing it”
Salt balances sweetness and enhances flavor.
Skipping or guessing salt makes baked goods taste flat.
How to fix a bake ruined by bad measuring (sometimes)
Not everything is salvageable — let’s be honest.
But:
- Dry dough → add small amounts of liquid
- Too wet batter → add flour carefully
- Flat cookies → chill dough before baking
Fixes are limited, but understanding the mistake helps next time.
Measuring ingredients with confidence (the mental shift)
At some point, measuring stops feeling annoying.
It becomes calming.
You stop rushing.
You stop guessing.
You trust the process.
That’s when baking stops being stressful and starts feeling reliable.
My honest opinion (slightly controversial)
If you hate measuring, baking may frustrate you.
And that’s okay.
But if you learn to respect measurement, baking becomes one of the most rewarding skills you can build.
Precision isn’t restriction.
It’s freedom from mystery failures.
A simple measuring checklist for beginners
Before you start baking, ask yourself:
- Did I read the recipe fully?
- Am I using the correct measuring tools?
- Am I measuring flour properly?
- Am I leveling dry ingredients?
- Am I measuring liquids at eye level?
- Are ingredients the right temperature?
If yes — you’re already ahead of most beginners.